Pokemon Pokopia 2.0 Guide: How to Unlock the Storage Device and Manage Cross-Region Inventories
Learn how to unlock the Storage Device in Pokemon Pokopia Version 2.0 and discover how to manage and access your item inventory across different regions.
Mastering Inventory Management in Pokemon Pokopia Version 2.0
With the arrival of the highly anticipated Version 2.0 update for Pokemon Pokopia, players are faced with an expanding world and a growing collection of items. One of the most critical additions to the gameplay loop is the introduction of the Storage Device. For players venturing across multiple regions, managing items efficiently is no longer just a luxury—it is a necessity for survival and success.
If you have found yourself struggling with a full bag while traveling between different territorial zones, this comprehensive guide will walk you through the process of unlocking and utilizing the new storage system.
What is the Pokemon Pokopia Storage Device?
The Storage Device is a specialized utility introduced in Version 2.0 that acts as a centralized hub for your items. Unlike the standard player inventory, which has strict weight and slot limitations, the Storage Device allows you to stash excess materials, rare evolution items, and consumables. The most significant feature of this system is its cross-region accessibility, meaning you can deposit an item in one region and retrieve it in another without having to physically carry it across the map.
How to Unlock the Storage Device
Unlocking the Storage Device is not immediate; it requires the player to reach specific milestones within the game's progression system. Follow these steps to get your storage up and running:
- Reach the Required Player Level: Ensure you have progressed through the initial story arcs of Version 2.0. The device typically becomes available after completing the primary introductory quest of the new update.
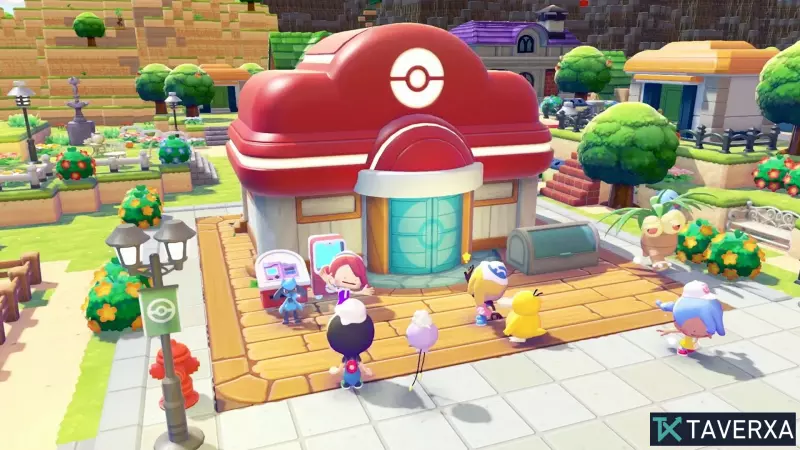
- Locate the Regional Hub: Visit the main city or designated "Base Camp" of your current region. Look for the Storage Terminal NPC or the interactive kiosk located near the Pokemon Center.
- Complete the Tutorial Quest: Upon interacting with the terminal for the first time, you will be prompted to complete a brief tutorial. This involves depositing a sample item to verify the link between your account and the global storage network.
Accessing Your Inventory Between Regions
Once the device is unlocked, the ability to transfer items across regions becomes a game-changer for strategic planning. Here is how to navigate your global inventory:
1. Depositing Items: Open your main inventory and select the items you wish to store. Choose the 'Transfer to Storage' option. These items are now safely tucked away in the cloud system.
2. Inter-Regional Retrieval: When you travel to a new region, find the nearest Storage Terminal. Accessing this terminal will open your global inventory, allowing you to withdraw the specific items you need for that region's environment or gym challenges.
3. Strategic Management: We recommend keeping only essential healing items and key items in your active bag, while storing bulk crafting materials and spare TMs in the Storage Device to keep your interface clean and efficient.
Tips for Version 2.0 Inventory Optimization
To get the most out of the new update, keep these pro tips in mind:
- Prioritize Rarity: Always store rare items immediately upon finding them to avoid accidental deletion or loss during high-intensity battles.
- Check Terminal Locations: Before leaving a region, make sure you know where the last Storage Terminal is located so you can gear up before entering a wilderness area.
- Monitor Space: While the Storage Device is vast, it is not infinite. Regularly clear out items you no longer need to make room for new discoveries in the expanded 2.0 world.